
A home insurance inspection is an on-site check your insurer uses to verify your home’s condition and risks, and its findings can change your premiums, coverage terms, or renewal status. Insurers rely on these visits to confirm what you reported on your application and to calculate your home’s true replacement cost. They’re especially common for older homes or properties in weather-prone areas.
TL;DR:
- Electrical panels like Federal Pacific or Zinsco, and polybutylene plumbing, are common red flags that often require replacement before coverage is approved.
- Exterior issues such as roof condition, foundation cracks, or unmanaged water drainage significantly influence insurer decisions and should be addressed upfront.
- Active leaks, water damage, outdated systems, and missing safety devices are the most likely reasons for policy denial or increased premiums after inspection.
- Fixing high-impact issues, especially electrical hazards and roof failures, provides the best return on investment for insurance approval and cost savings.
- Proper documentation, including permits, receipts, and photographs of repairs, can help reverse conditional cancellations or reduce premium increases post-inspection.
Table of Contents
- What Happens During a Home Insurance Inspection
- Exterior Checklist: What Inspectors Look For Outside
- Interior and Systems Checklist: Plumbing, Electrical, HVAC, and Safety
- How to Prepare: A Step-by-Step Checklist
- Documents to Have Ready Before the Inspection
- When Insurers Order Inspections and What Happens Next
- If the Inspector Finds Problems: What Happens and Your Options
- High-Impact Red Flags Worth Fixing First
- How an Agent Helps You Prepare and Document an Inspection
- An Agent’s Take on What Actually Matters Here
- Let Us Help You Get Through It Smoothly
- FAQ
- Sources
What Happens During a Home Insurance Inspection
Your insurer typically sends one of its own employees or hires a third-party inspection vendor to walk your property. You can usually schedule a window that works for you, and being home isn’t required, though it helps if the inspector has questions about recent work.
Most inspections wrap up in 30 to 60 minutes for an average-sized home. During that time, the inspector photographs exterior and interior conditions and logs observations about your roof, plumbing, electrical, and HVAC systems.
Expect questions about any recent repairs or upgrades, since documented improvements can work in your favor. Here’s what typically happens on-site:
- The inspector photographs the roof, siding, and foundation from ground level.
- They check major systems and note the apparent age of appliances and panels.
- They ask about permits, renovations, or recent claims.
- They record safety features like smoke detectors and security systems.
Exterior Checklist: What Inspectors Look For Outside
Inspectors start outside because exterior conditions are the fastest way to spot deferred maintenance. Roof age and condition carry the most weight: missing shingles, sagging areas, or a roof nearing the end of its expected lifespan often trigger closer scrutiny or a requirement to replace it before binding coverage.
Beyond the roof, inspectors look at siding for rot or damage, foundation cracks, and whether gutters and drainage are directing water away from the house properly. Decks and exterior stairs get checked for loose railings or rotting boards, since these are common liability concerns.
A few other items commonly make the list:
- Overhanging tree limbs that could damage the roof or structure.
- Pools and outbuildings, especially fencing and gate security around pools.
- Driveways, walkways, and anything that could create a tripping hazard.
- Standing water or poor grading near the foundation.
Walking your own property with this list before an inspection is scheduled can catch problems while you still have time to fix them, following the San Diego home selling process to prepare effectively.
Interior and Systems Checklist: Plumbing, Electrical, HVAC, and Safety
Inside the house, underwriters focus on the systems most likely to cause a claim. Electrical panels get particular attention: certain brands like Federal Pacific or Zinsco panels, along with older knob-and-tube wiring, are repeatedly flagged as high-risk and often require replacement before a policy is issued or renewed.
Plumbing materials matter too. Polybutylene pipes are a common red flag, and any visible active leaks or water stains will almost certainly draw follow-up questions. Inspectors also note the age of your HVAC system and water heater, since both are common sources of claims as they near the end of their service life.
Safety devices round out the checklist:
- Working smoke and carbon monoxide detectors in the right locations.
- GFCI outlets in kitchens, bathrooms, and other wet areas.
- No visible evidence of water damage, mold, or pest infestation.
- Water heaters and furnaces that appear properly maintained, not visibly corroded or leaking.
One of the most common underwriting triggers is an outdated electrical panel or wiring type. Panels like Federal Pacific or Zinsco, and materials like polybutylene plumbing, are cited often enough that insurers treat them as standard red flags, which can mean replacement is required before coverage is approved.
How to Prepare: A Step-by-Step Checklist
Preparing for an inspection doesn’t require a renovation. It requires fixing the few things that actually move the needle. Work through these steps in order:
- Check the roof first. Look for missing shingles, visible sagging, or granule loss, and have a roofer assess age if you’re not sure how much life is left.
- Inspect the electrical panel. If you have an older or flagged panel type, get a licensed electrician’s opinion on replacement before the inspection, not after.
- Look for active leaks. Check under sinks, around water heaters, and in the basement or crawl space for moisture.
- Test safety devices. Replace batteries in smoke and carbon monoxide detectors and confirm GFCI outlets trip properly.
- Clear access points. Make sure the inspector can reach the electrical panel, water heater, attic, and crawl space without obstruction.
- Secure pets. A loose dog is one of the fastest ways to delay or complicate a scheduled visit.
Minor fixes like swapping batteries or clearing clutter are fine to handle yourself. Anything involving wiring, gas lines, or structural repairs should go to a licensed contractor, both for safety and because insurers want proof the work was done correctly.
Pro Tip: Take your own photos of completed repairs before the inspector arrives. Timestamped images are easy proof if a question comes up later.
Documents to Have Ready Before the Inspection
Paperwork can speed up a favorable decision as much as the physical condition of your home. Have these items organized and easy to hand over:
- Permits and final inspection certificates for any major renovations.
- Receipts and contractor contact information for recent repairs.
- Service records for your HVAC system and water heater.
- Photos of completed work, along with square footage measurements.
- Documentation for any monitored security or alarm system.
When Insurers Order Inspections and What Happens Next
Insurers typically order inspections based on a home’s age, claims history, location, or discrepancies in your application. Older homes and properties in weather-prone regions are inspected more often than newer, lower-risk ones.
After the report is filed, expect to hear from your insurer within a few weeks. They’ll typically outline any required repairs, give you a cure period to address them, and may schedule a reinspection. Decisions usually arrive in writing, covering premium changes, new exclusions, or added endorsements.
If the Inspector Finds Problems: What Happens and Your Options
A flagged item doesn’t automatically mean cancellation. Insurers generally respond in one of a few ways: a conditional renewal that requires specific repairs, a premium increase, an exclusion for a particular risk, or, in more serious cases, cancellation or nonrenewal.
Refusing an inspection or failing to address its findings often leads to the same outcome: an underwriting cancellation that makes it harder to find coverage elsewhere, so cooperation tends to preserve more options than silence does.
If you’re facing a repair demand or unfavorable decision, a few steps help:
- Get written estimates from licensed contractors for any required repairs.
- Complete the work and submit photo proof and receipts within the insurer’s cure period.
- Ask for an extension in writing if you need more time.
- Shop other carriers if your current insurer won’t budge on terms.
- Check your state’s FAIR Plan if standard coverage isn’t available for your property.
Reading through our guide to understanding your homeowners policy can help you see exactly where exclusions or endorsements might show up in your paperwork.
High-Impact Red Flags Worth Fixing First
A handful of issues drive most negative outcomes: a roof past the insurer’s age threshold, an unsafe electrical panel, active water damage, unpermitted structural work, missing smoke or carbon monoxide detectors, and serious foundation or drainage problems.
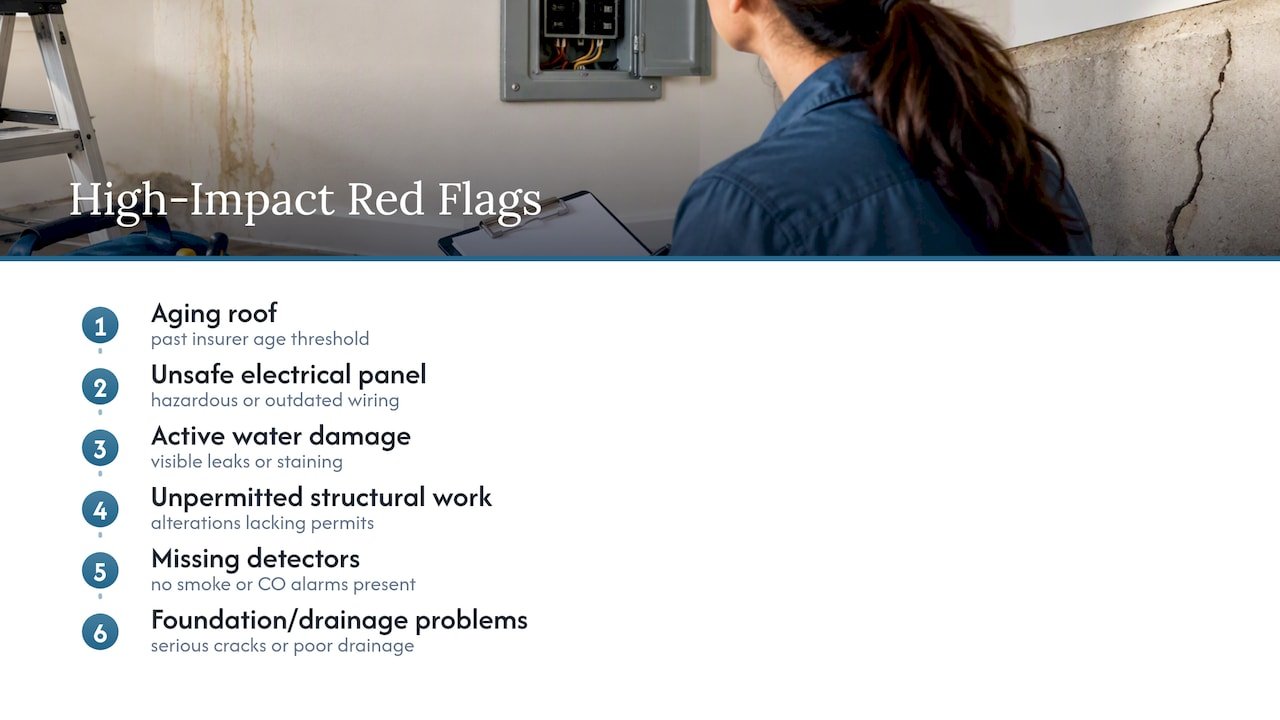
Each of these affects either the likelihood of a claim or the cost of rebuilding, which is exactly what underwriters use inspections to verify. Fixing these first, before smaller cosmetic items, gets you the most protection for the least effort.
How an Agent Helps You Prepare and Document an Inspection
A good agent packages your documentation for underwriters, including permits, contractor credentials, and repair receipts, and can request a cure period instead of letting a cancellation move forward unchallenged. We recommend licensed, vetted contractors so the paperwork holds up under review.
For complex or high-value homes, a formal insurance appraisal provides a component-by-component replacement cost breakdown that a routine field inspection won’t capture, and we’ll flag when that extra step is worth it.
Pro Tip: Ask your agent to review the inspection report with you before responding. A second set of eyes often catches which items actually require action.
An Agent’s Take on What Actually Matters Here
Most homeowners worry about the wrong things before an inspection. Peeling paint rarely matters. A 25-year-old roof, an outdated panel, or dead smoke detectors do. Fix those first, send proof quickly, and you keep every option on the table instead of scrambling after a cancellation notice.
— Nathan
Let Us Help You Get Through It Smoothly
Getting a repair demand or a premium increase after an inspection doesn’t have to mean starting over with a new insurer. Our team reviews inspection reports and helps you figure out which items genuinely need attention, then connects you with contractors who can get the paperwork right the first time.

Whether you’re responding to a recent inspection or just want a second opinion on your current policy, our homeowners insurance page for Savannah is a good place to start, and our breakdown of how to understand your homeowners policy explains exactly how inspection findings translate into coverage changes. Reach out and we’ll walk through your options together.
FAQ
What happens during a home insurance inspection?
An inspector, either an insurer employee or a third-party vendor, walks your property to check the roof, electrical panel, plumbing, HVAC, and safety devices. Most visits take 30 to 60 minutes, and the inspector photographs conditions and notes any recent repairs or upgrades you mention.
What will fail a home insurance inspection?
The most common issues are an aging or unsafe roof, outdated electrical panels like Federal Pacific or Zinsco, active leaks, and missing smoke or carbon monoxide detectors. These items are repeatedly flagged as underwriting red flags because they directly affect claim risk.
Is it normal for home insurance to do an inspection?
Yes, inspections are ordered case-by-case, and older homes or properties in weather-prone locations are inspected more often than newer, lower-risk homes. Declining an inspection is possible but often leads to denial, cancellation, or nonrenewal.
What is the biggest red flag in a home inspection?
An outdated or hazardous electrical panel is one of the most consistently flagged issues, since certain brands are known fire risks. Active water damage and a roof near or past its expected lifespan are close behind, since both point to a higher chance of a future claim.
Can repairs after a failed inspection save my policy?
Often, yes. Submitting photo proof and receipts within the insurer’s cure period is the most effective way to reverse a conditional cancellation or avoid nonrenewal altogether.
Sources
- Homeowners insurance inspection: what to expect — MoneyGeek
- The essential homeowner’s home insurance inspection checklist — Angi
- Property valuations and insurance appraisal services — Sedgwick